




Table of contents
Every year, thousands of people have the same thought.
"This year...I'm building my own Sukkah."
Then they open YouTube.
Thirty-seven videos later they're suddenly learning advanced woodworking techniques from a man who owns six different table saws.
Relax.
Building a kosher Sukkah doesn't require a professional workshop or a degree in structural engineering.
If you can measure, drill a few holes, and tighten a bolt, you're already most of the way there.
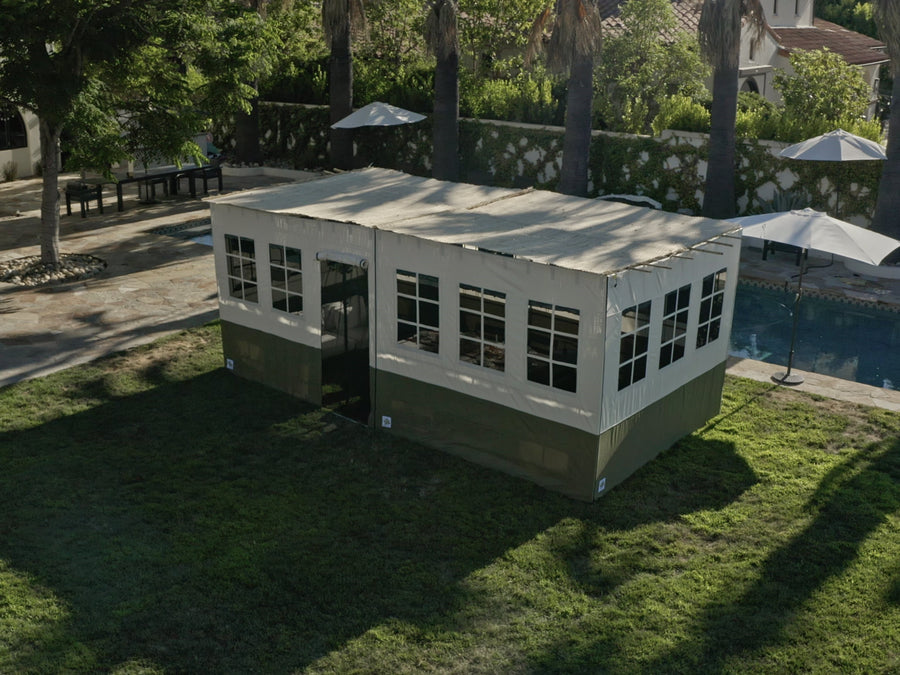
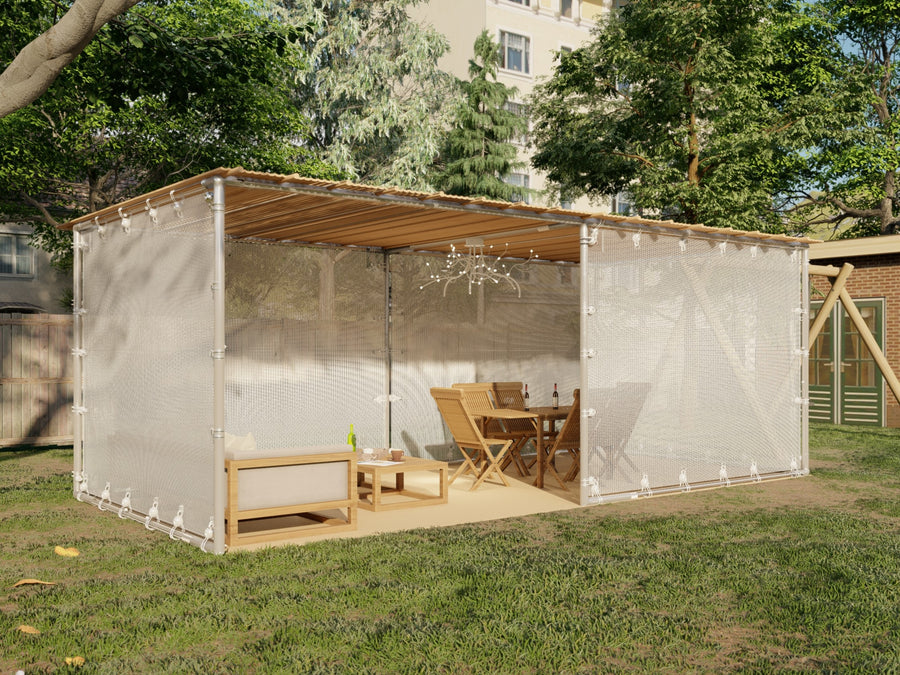
Here's one of the simplest ways to build a sturdy, reusable Sukkah using materials from your local hardware store.
Step 1: Choose a Practical Sukkah Size
Before buying lumber, decide how many people will actually use the Sukkah.
For most families, one of these sizes works well:
8' × 8' – comfortably seats four to six people.
8' × 10' – gives extra room for guests.
8' × 12' – great for larger families.
Eight-foot walls are popular for a reason.
Most dimensional lumber comes in eight-foot lengths, so you'll spend less time cutting and less money wasting wood.
If one side of your house can serve as a wall, even better – you'll need fewer materials.
Step 2: Pick Up Your Materials
A simple DIY Sukkah typically needs:
2×4 lumber for the frame
Bolts, washers, and nuts
Exterior screws (optional)
Heavy-duty tarp, outdoor fabric, or shade cloth for the walls
Wooden roof slats or cross supports
Kosher Schach (roof covering)
Zip ties or rope for attaching wall material
If you plan to rebuild the Sukkah every year, bolts are usually preferable to screws because they're easier to disassemble and reuse.
Step 3: Build the Frame
Start by assembling the base rectangle.
Then attach the four corner posts before securing the top frame.
One important tip:
Use two bolts at every corner, not one.
A single bolt allows the frame to twist surprisingly easily, turning your perfect square into something that looks like it belongs in an abstract art gallery.
Some builders also add diagonal braces in the corners for additional rigidity.
Step 4: Add the Walls
Now attach your wall material.
Many DIY builders choose:
Outdoor tarps
Shade cloth
Lattice panels
Whatever you choose, make sure the walls are pulled reasonably tight.
Flapping walls may create halachic concerns if they move excessively in a normal wind (Shulchan Aruch Orach Chaim 630:10).
Step 5: Install Roof Supports
Across the top of the frame, install wooden slats or poles to support the Schach.
Space them evenly.
These supports aren't the Schach itself – they're simply there to hold it securely.
If you're building an especially wide Sukkah, you may need an additional center support beam to prevent sagging.
Step 6: Lay the Schach
Now comes the part that actually makes the Sukkah a Sukkah.
Place kosher Schach evenly across the roof.
The covering should provide more shade than sunlight, while still allowing rain to fall through (Shulchan Aruch Orach Chaim 631).
Avoid packing it so densely that it behaves like a permanent roof.
Step 7: Decorate
Finally – the enjoyable part.
Hang decorations.
String lights.
Let the children display their masterpieces.
Just remember not to let decorations hang more than four tefachim (roughly 12–16 inches, depending on the halachic opinion followed) below the Schach, as this can create halachic complications (Shulchan Aruch Orach Chaim 627:4).
Common DIY Mistakes
Building First, Measuring Later
Measure your available space before buying materials.
Your driveway, patio, or deck may have ideas of its own.
Forgetting Storage
Ask yourself one question:
"Where will this live for the other 51 weeks of the year?"
A reusable Sukkah is only convenient if you can actually store it.
Making It Too Complicated
Many first-time builders over-engineer their Sukkah.
The goal isn't to build a garden shed.
It's to build a temporary dwelling that's sturdy, kosher, and enjoyable to use.
Simple usually wins.
Final Thoughts
The best homemade Sukkah isn't the fanciest one on the block.
It's the one that's ready before Yom Tov begins.
A straightforward timber frame, secure walls, properly installed Schach, and enough room for family and guests – that's really all you need.
After that?
The meals, the conversations, and the memories do the rest.