


Table of contents
Option 1: The “Snap-Together” Sukkah – For the Tool-Averse Why It’s Great: Budget Breakdown: Final Verdict: Option 2: The “Sukkah on a Shoestring” – Cheap & Cheerful Materials Needed: Assembly: Budget Breakdown: Final Verdict: Option 3: The “Secondhand Sukkah” – Craigslist, Shul Emails & Word-of-Mouth Wins Where to Look: Pros: Cons: Budget Breakdown: Final Verdict: Option 4: The “Rustic Charm” Wooden Sukkah – A Little More Work, But Worth It Materials Needed: Budget Breakdown: Assembly Time: Final Verdict: The Final Takeaway: Which Sukkah Style is Right for You?
Building a Sukkah sounds simple enough – four walls, some Schach (the leafy stuff on top), and boom, you’re done. Right? Well, if you’re a seasoned Sukkah architect, maybe. But for those of us who can barely put together IKEA furniture without shedding a tear, the process can seem daunting.
The good news? You don’t need to be Bob the Builder or break the bank to construct a perfectly kosher Sukkah. If you’ve got $250 (excluding Schach), a wall of your house to work with, and minimal handyman skills, you’re already halfway there. Let’s break it down.
Option 1: The “Snap-Together” Sukkah – For the Tool-Averse
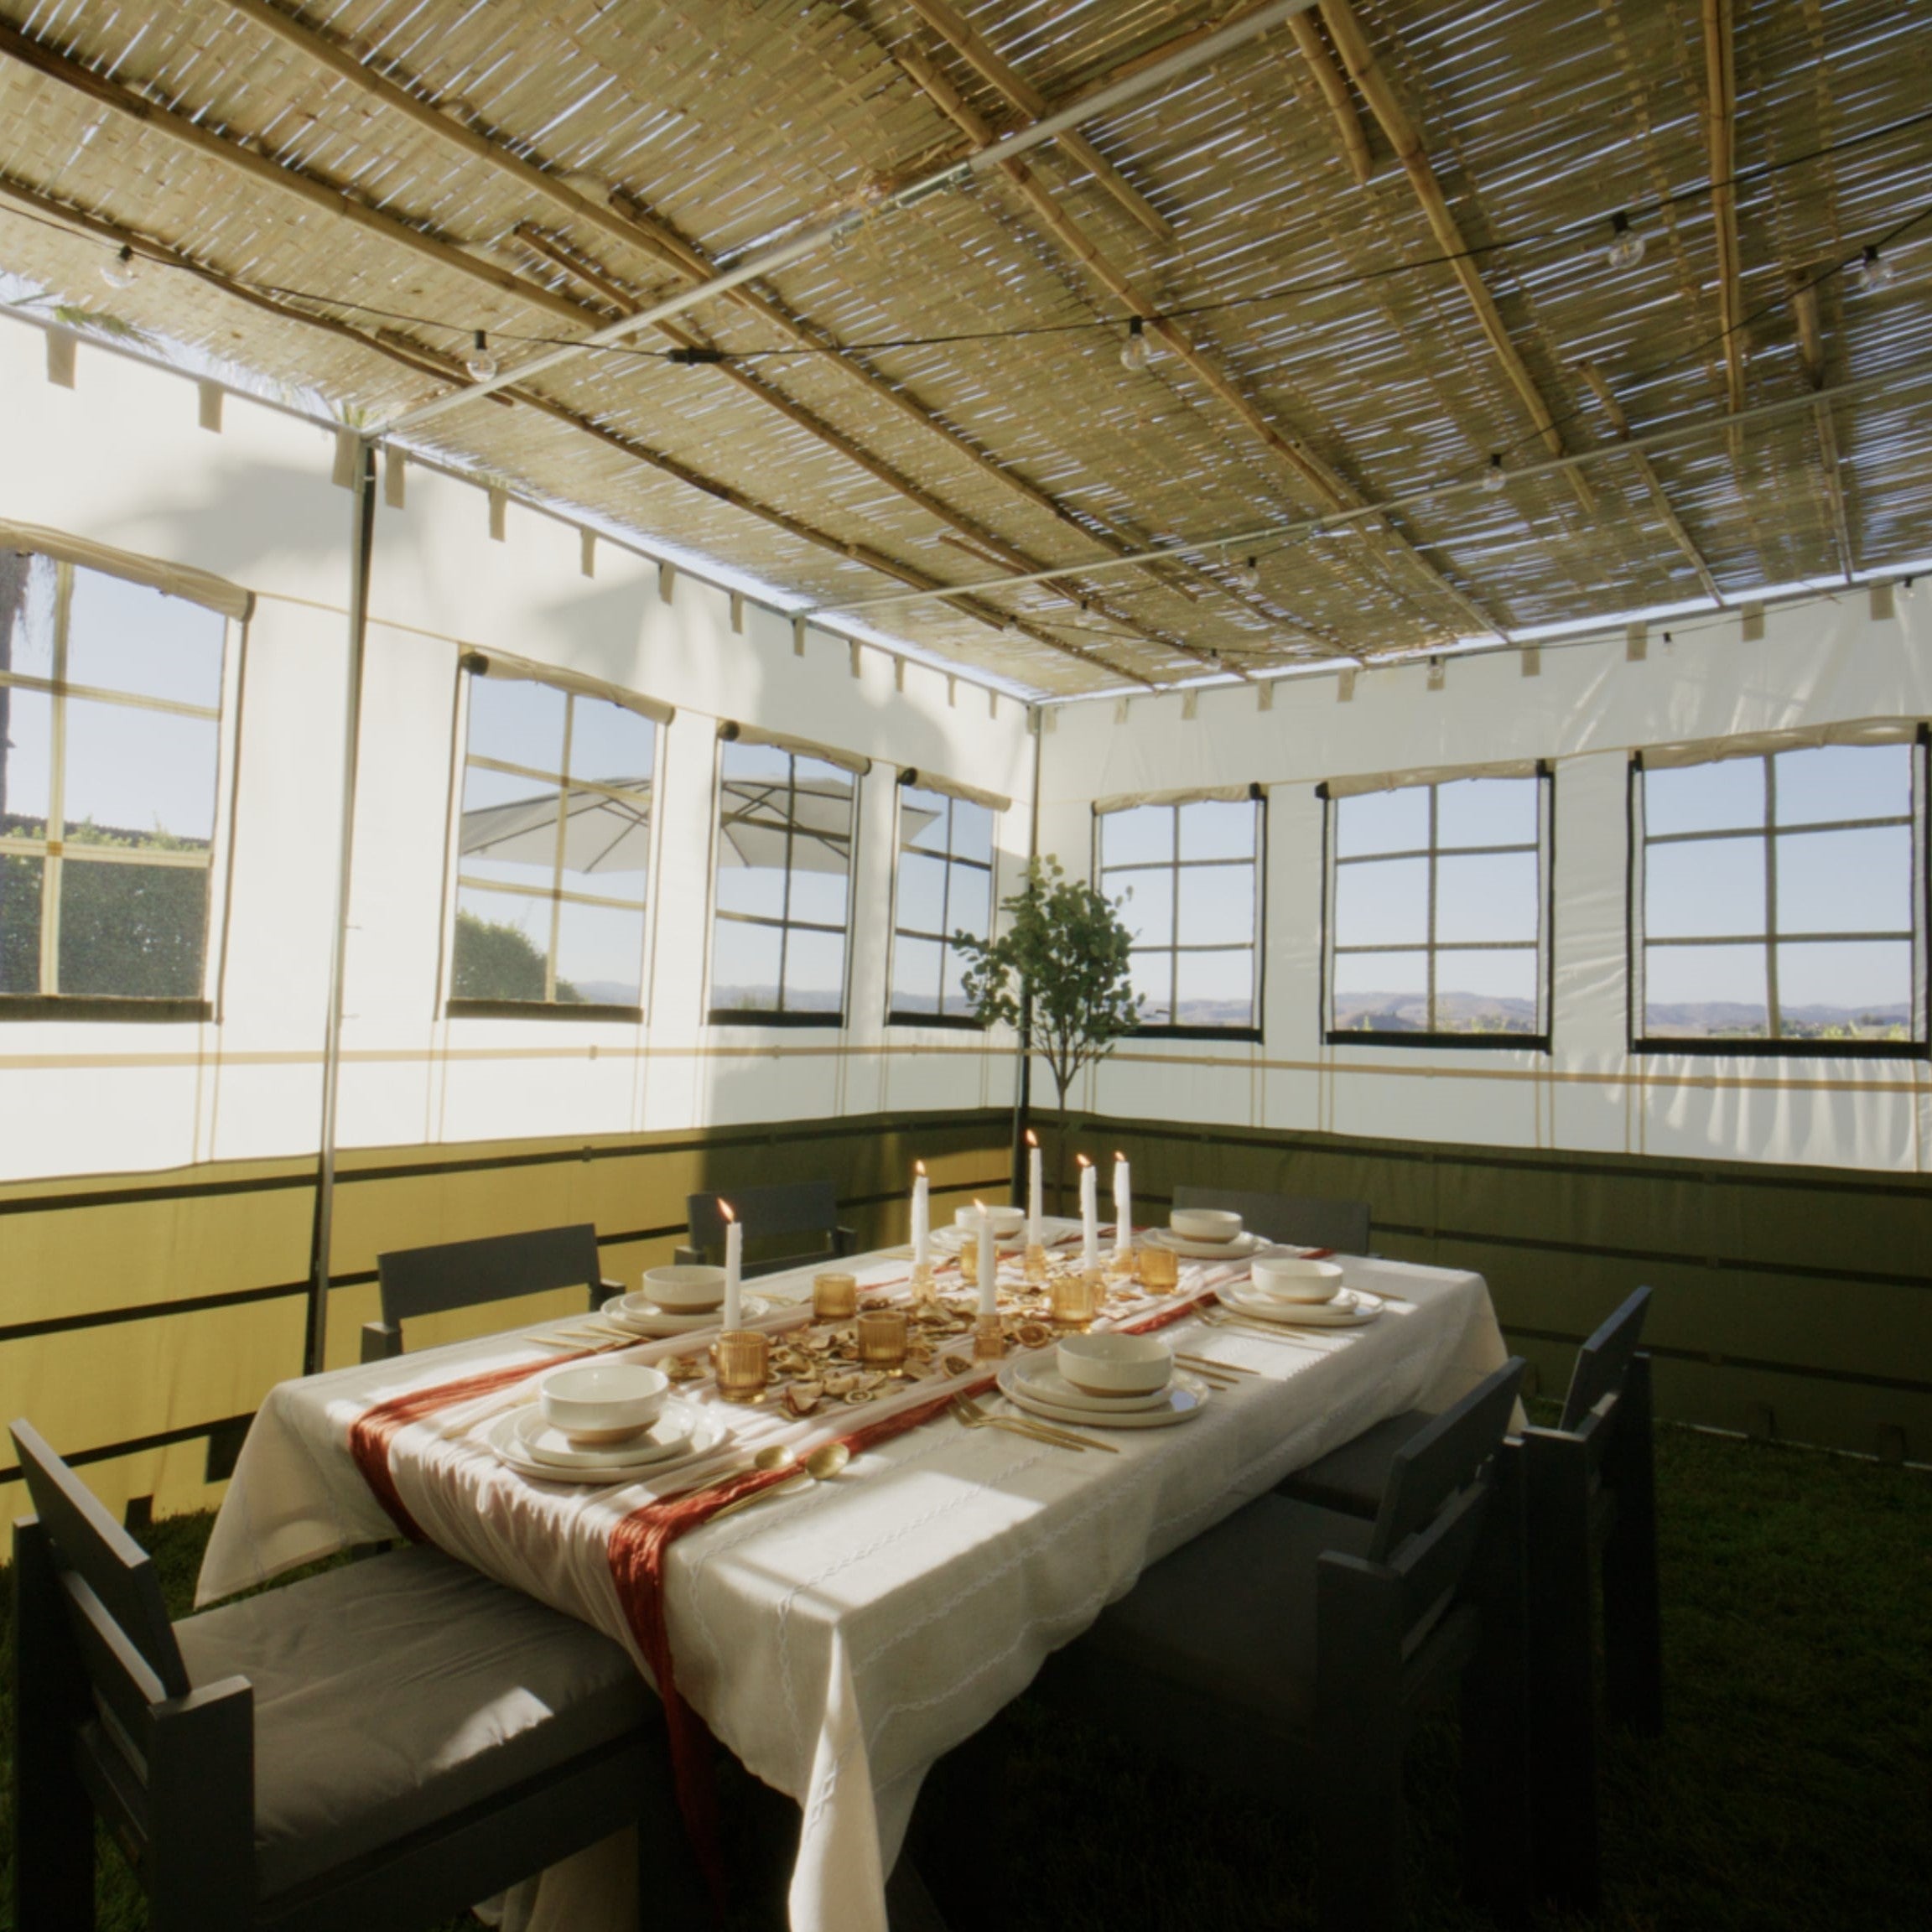
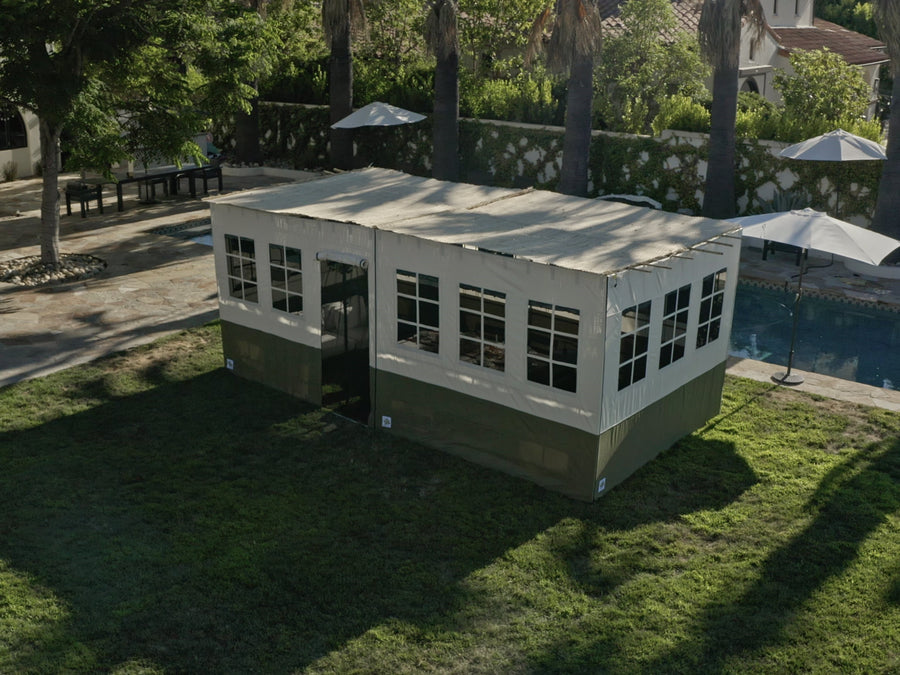
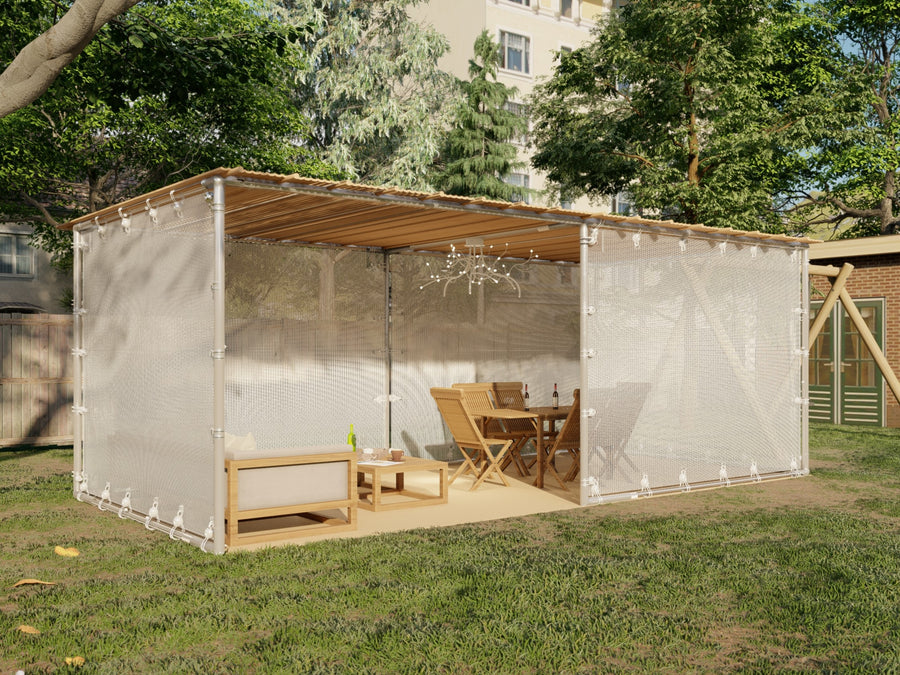
If your idea of building involves sliding things into pre-cut slots and twisting a few hand-tightened knobs, then a kit like The Sukkah Store’s prefab frame might be your best bet.
Why It’s Great:
No tools required. Their snap-and-lock connectors mean you can just slide the poles into sockets and hand-tighten.
Takes less than an hour to set up (so more time for Sukkot prep and less time arguing over instructions).
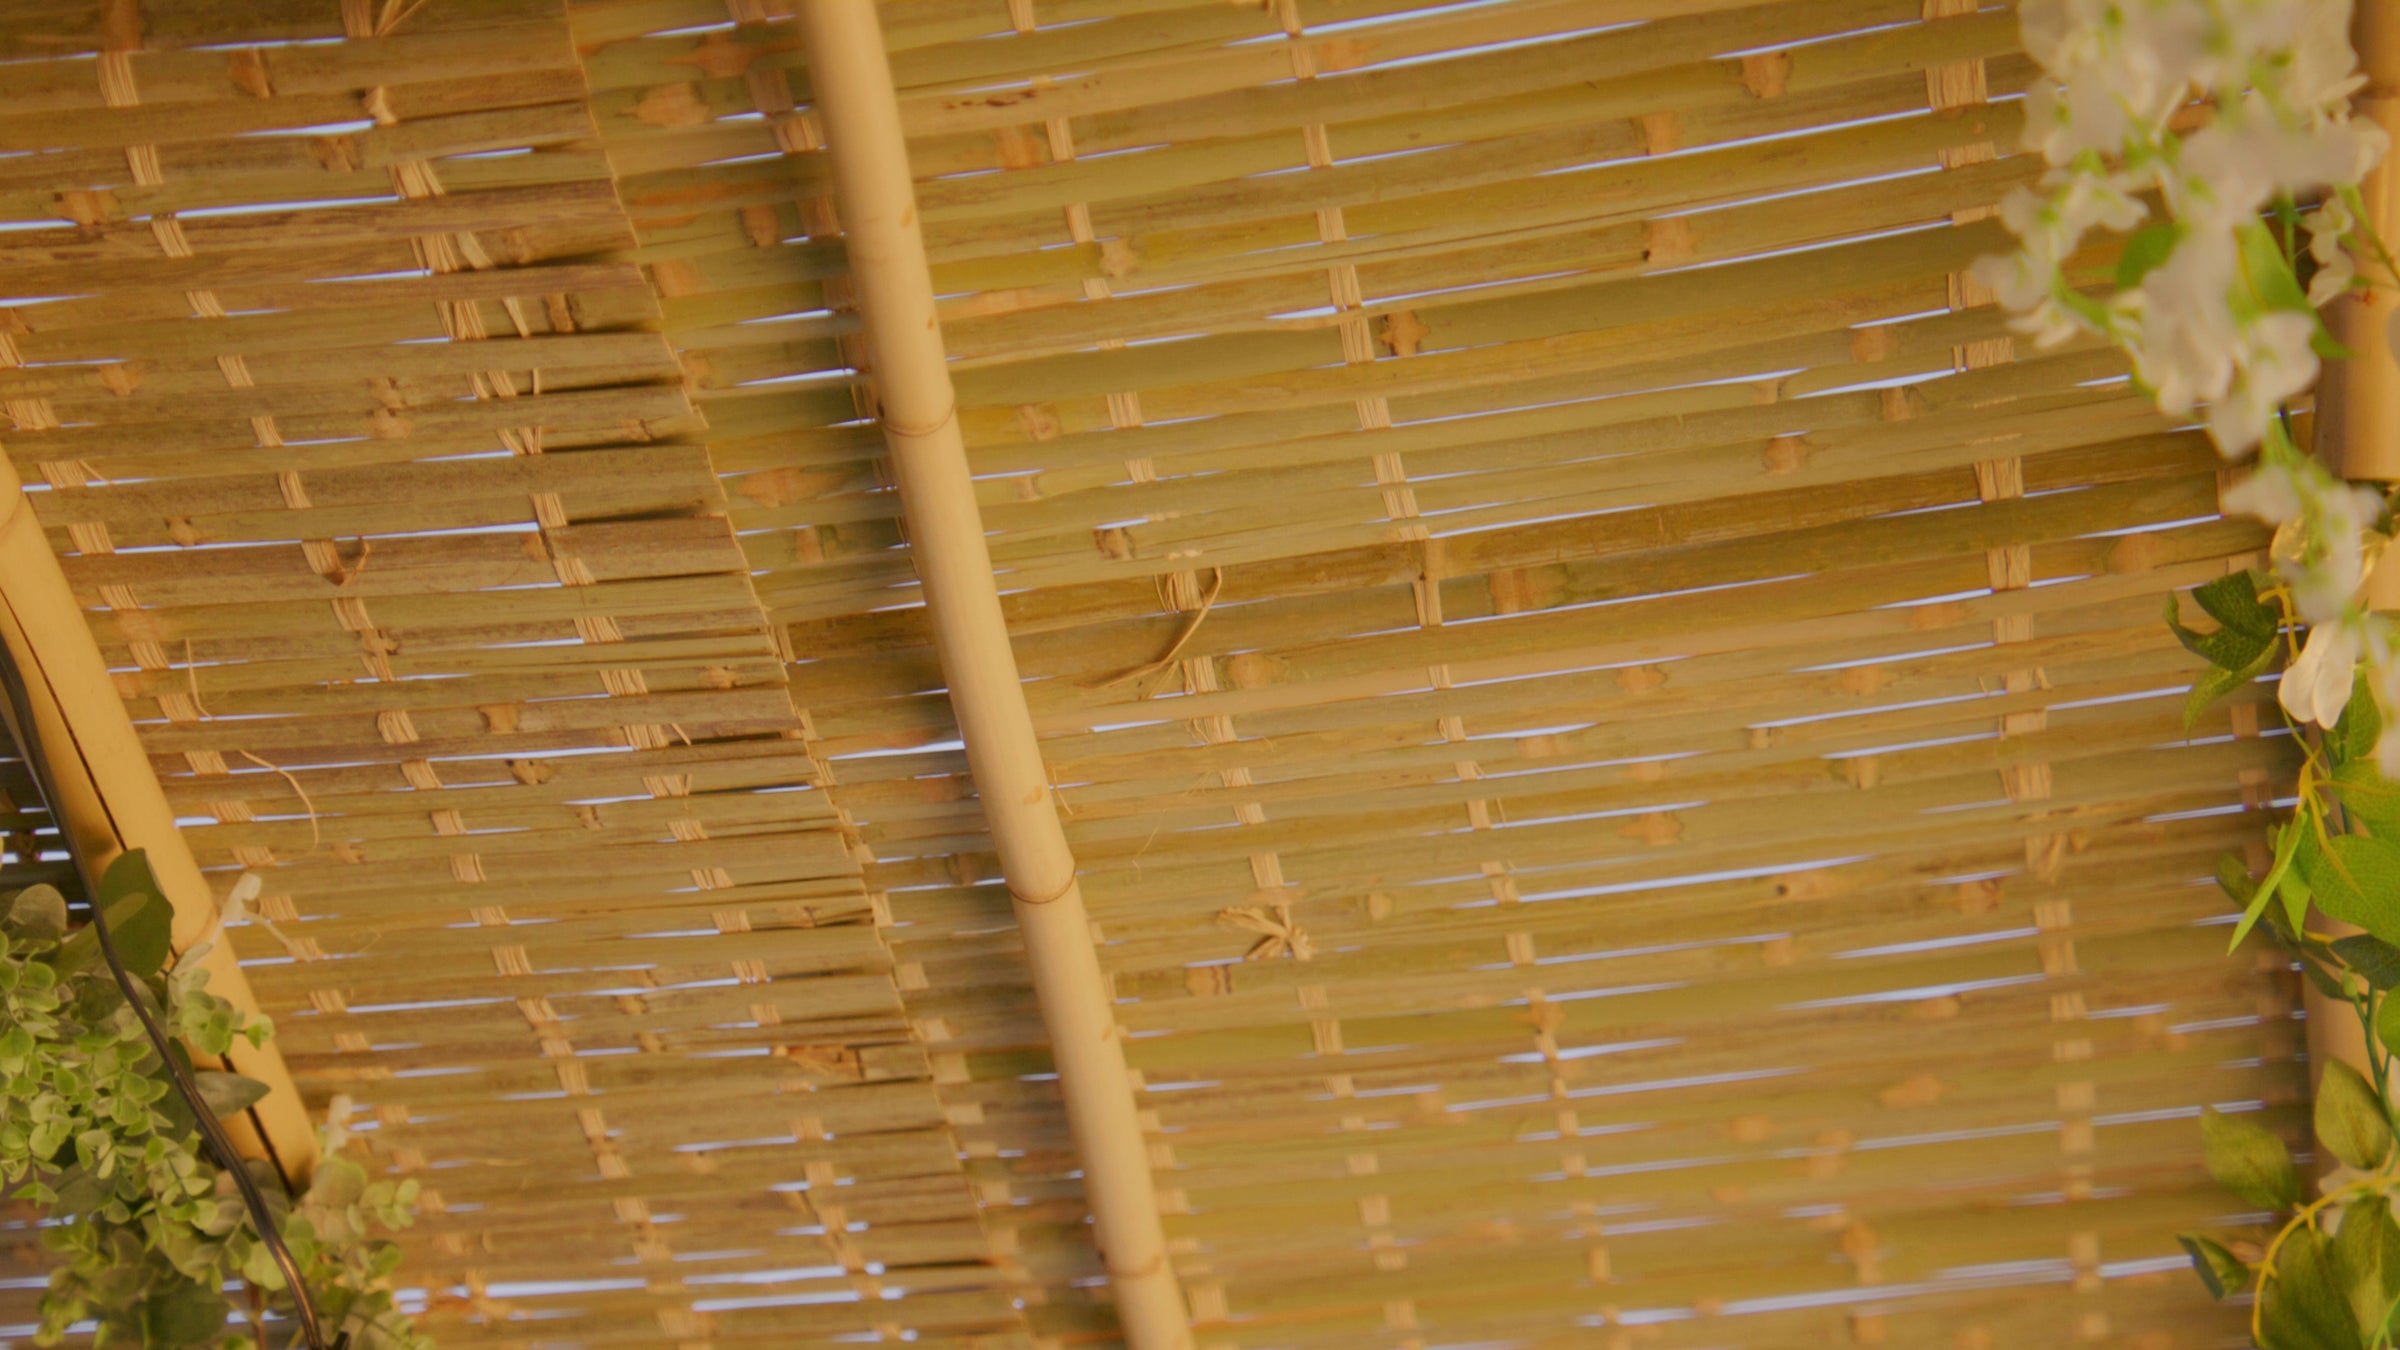
Super durable – you can use it for years, though the wooden slats might need replacing if an unexpected snowstorm decides to join your Yom Tov plans.
Perfect for those searching for a Sukkah for sale or wanting to buy a Sukkah online without the headache of a complicated setup.
Budget Breakdown:
A basic 6x6 Sieger Sukkah from The Sukkah Project starts at $545 (including walls).
If you already have material for walls, you can buy just the frame at a discount of $10 per galvanized steel pole.
Final Verdict:
If you’re short on time and patience, this is a solid option. Just be ready to invest slightly over budget (unless you score a discount or find secondhand parts). And if you’re wondering, “Where can I buy a Sukkah?” – this is one of the easiest solutions.
Option 2: The “Sukkah on a Shoestring” – Cheap & Cheerful
For those who want a Sukkah on a true budget, consider going the DIY route with everyday materials. No power tools required.
Materials Needed:
2x2 wooden poles (for the frame)
Cinder blocks (to hold vertical poles in place)
Rope or zip ties (for extra stability)
Bedsheets, shower curtains, or tarps (for walls)
Assembly:
Stick the 2x2s into cinder blocks to form the frame.
Use rope or zip ties to lash corners together. (Yes, screws would be sturdier, but let’s be honest – most of us don’t own a drill.)
Hang bedsheets or tarps for walls. Bonus points if you score decorative ones at Goodwill for $1 each.
If you have a solid wall of your house to use, even better – one less side to worry about!
Budget Breakdown:
Wood & blocks: ~$50-$100
Rope & fasteners: ~$20
Walls: ~$10-$30 (free if you raid your linen closet)
Final Verdict:
This is the absolute cheapest way to build a Sukkah that’s still standing by the end of the holiday. It might be a little wobbly, but hey, that’s part of the fun, right?
Option 3: The “Secondhand Sukkah” – Craigslist, Shul Emails & Word-of-Mouth Wins
One person’s old Sukkah is another’s treasure. Many people upgrade their Sukkahs over time, which means plenty of used Sukkah deals pop up before Sukkot.
Where to Look:
Your shul’s email list (someone is always moving or downsizing)
Luach.com (the Jewish classifieds site)
Facebook Marketplace, Craigslist, or Nextdoor (seriously, people will sell anything)
Pros:
Huge savings (used Sukkahs are often half price or less!)
Sellers might throw in Schach, decorations, or assembly tips
Often designed for easy assembly – no DIY headaches
Cons:
Availability is unpredictable
You might need to rent a truck if it’s too big to fit in your car
Budget Breakdown:
Used Sukkah: $50-$200 (depending on size and condition)
Transport costs: $0-$50 (if you need a rental)
Final Verdict:
If you’re patient and resourceful, this is the maximum impact, minimum spend option. Just act fast – good deals get snapped up quickly!
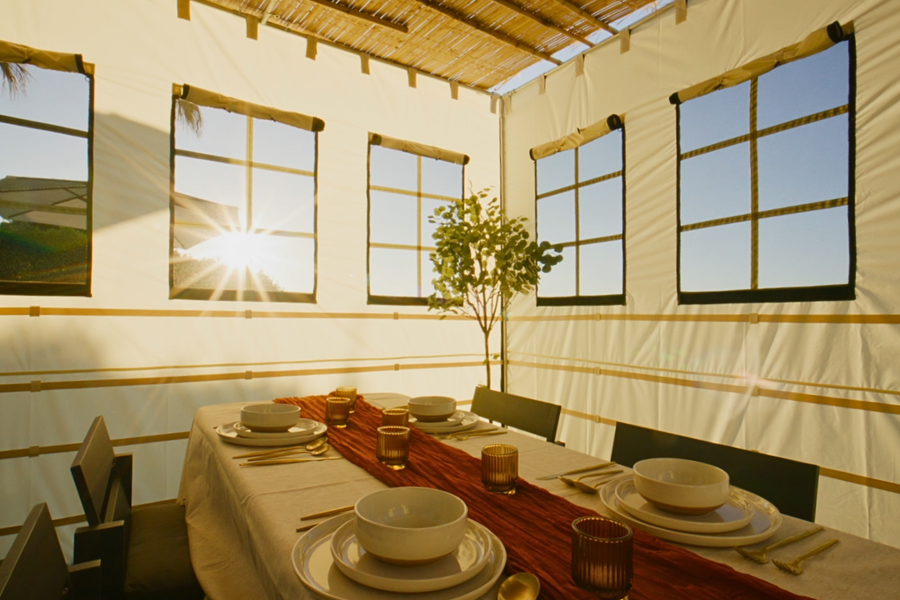
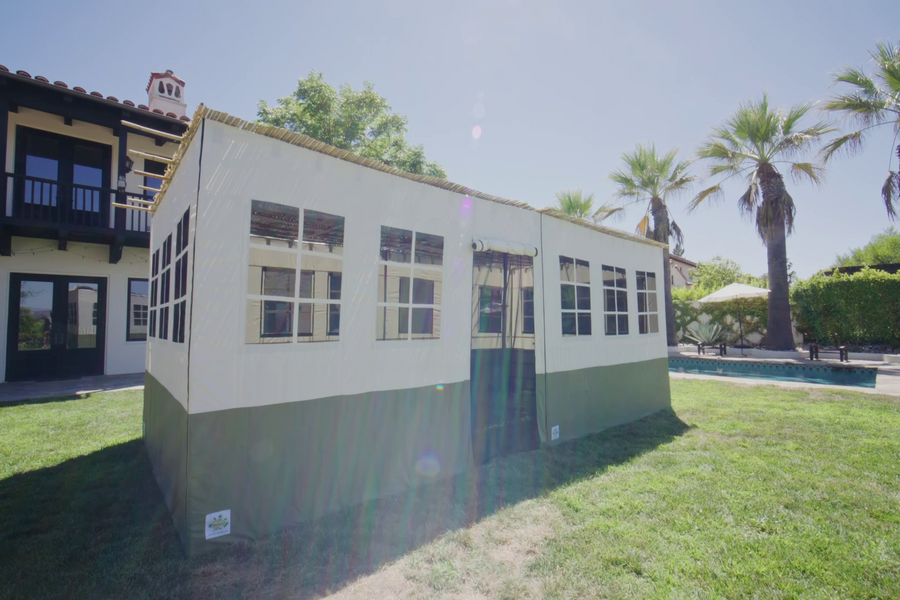
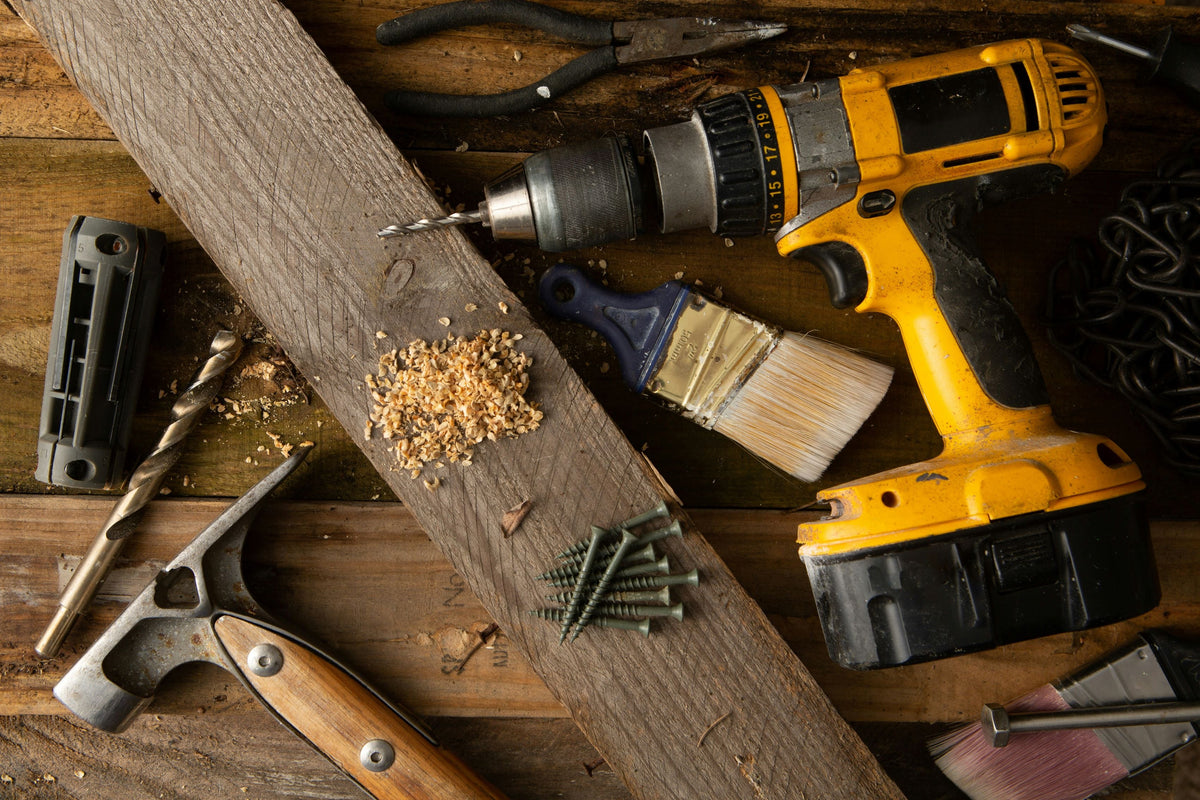
Option 4: The “Rustic Charm” Wooden Sukkah – A Little More Work, But Worth It
For those who want a sturdy and reusable Sukkah with a natural, homemade feel, a wood-based structure is a great choice.
Materials Needed:
10-foot cedar 2x4s (for the frame)
Galvanized bolts, nuts, and washers (to hold joints together)
Construction-grade L-braces (for corners)
Agricultural shade cloth or wooden lattice (for walls)
Zip ties (to keep everything in place)
Budget Breakdown:
Wood & fasteners: ~$150
Walls: ~$50
Extra hardware/tools: ~$30
Assembly Time:
First-time setup: ~5 hours with two people
Future setups: ~2-3 hours
Final Verdict:
This is a fantastic long-term option – especially if you like the “natural wood” aesthetic. Just be prepared to spend a little more time assembling it.
The Final Takeaway: Which Sukkah Style is Right for You?
Type |
Cost |
Effort Level |
Durability |
Snap-Together Kit |
$$ |
Minimal |
High |
DIY Bedsheet Special |
$ |
Low |
Medium |
Secondhand Sukkah |
$ |
Low |
Variable |
Wooden Rustic Sukkah |
$$ |
High |
Very High |
If you’re all about ease and convenience, go with a snap-together Sukkah or buy a used one.
If you’re on a tight budget, the DIY bedsheet Sukkah is a great temporary fix.
And if you want something sturdy and stylish, roll up your sleeves and build a wooden Sukkah.
Whichever option you choose, remember: a Sukkah doesn’t have to be fancy – just kosher, sturdy enough not to collapse mid-kiddush, and filled with good food and great company.
Happy building!