


Table of contents
A Strong Foundation: Finding Sukkah Plans That Actually Work Option 1: The All-Out “Mini Fortress” (aka The Ambitious Builder’s Dream) 1. Skip the Fancy Roof, Stick to Schach Strips 2. Forget the Windows; Go for Cozy and Sturdy Walls 3. Make Those Walls Foldable 4. The Door 5. Prepare for “Schlep-ability” Option 2: DIY with the Sukkah Store’s Help 1. Add Some Ply to the Plan 2. The Piano Hinge Trick 3. The Door, Version 2.0 Final Touches: Practical and Stylish Sukkah Walls and Wind: Blocking the Elements In Conclusion: DIY or Kit?
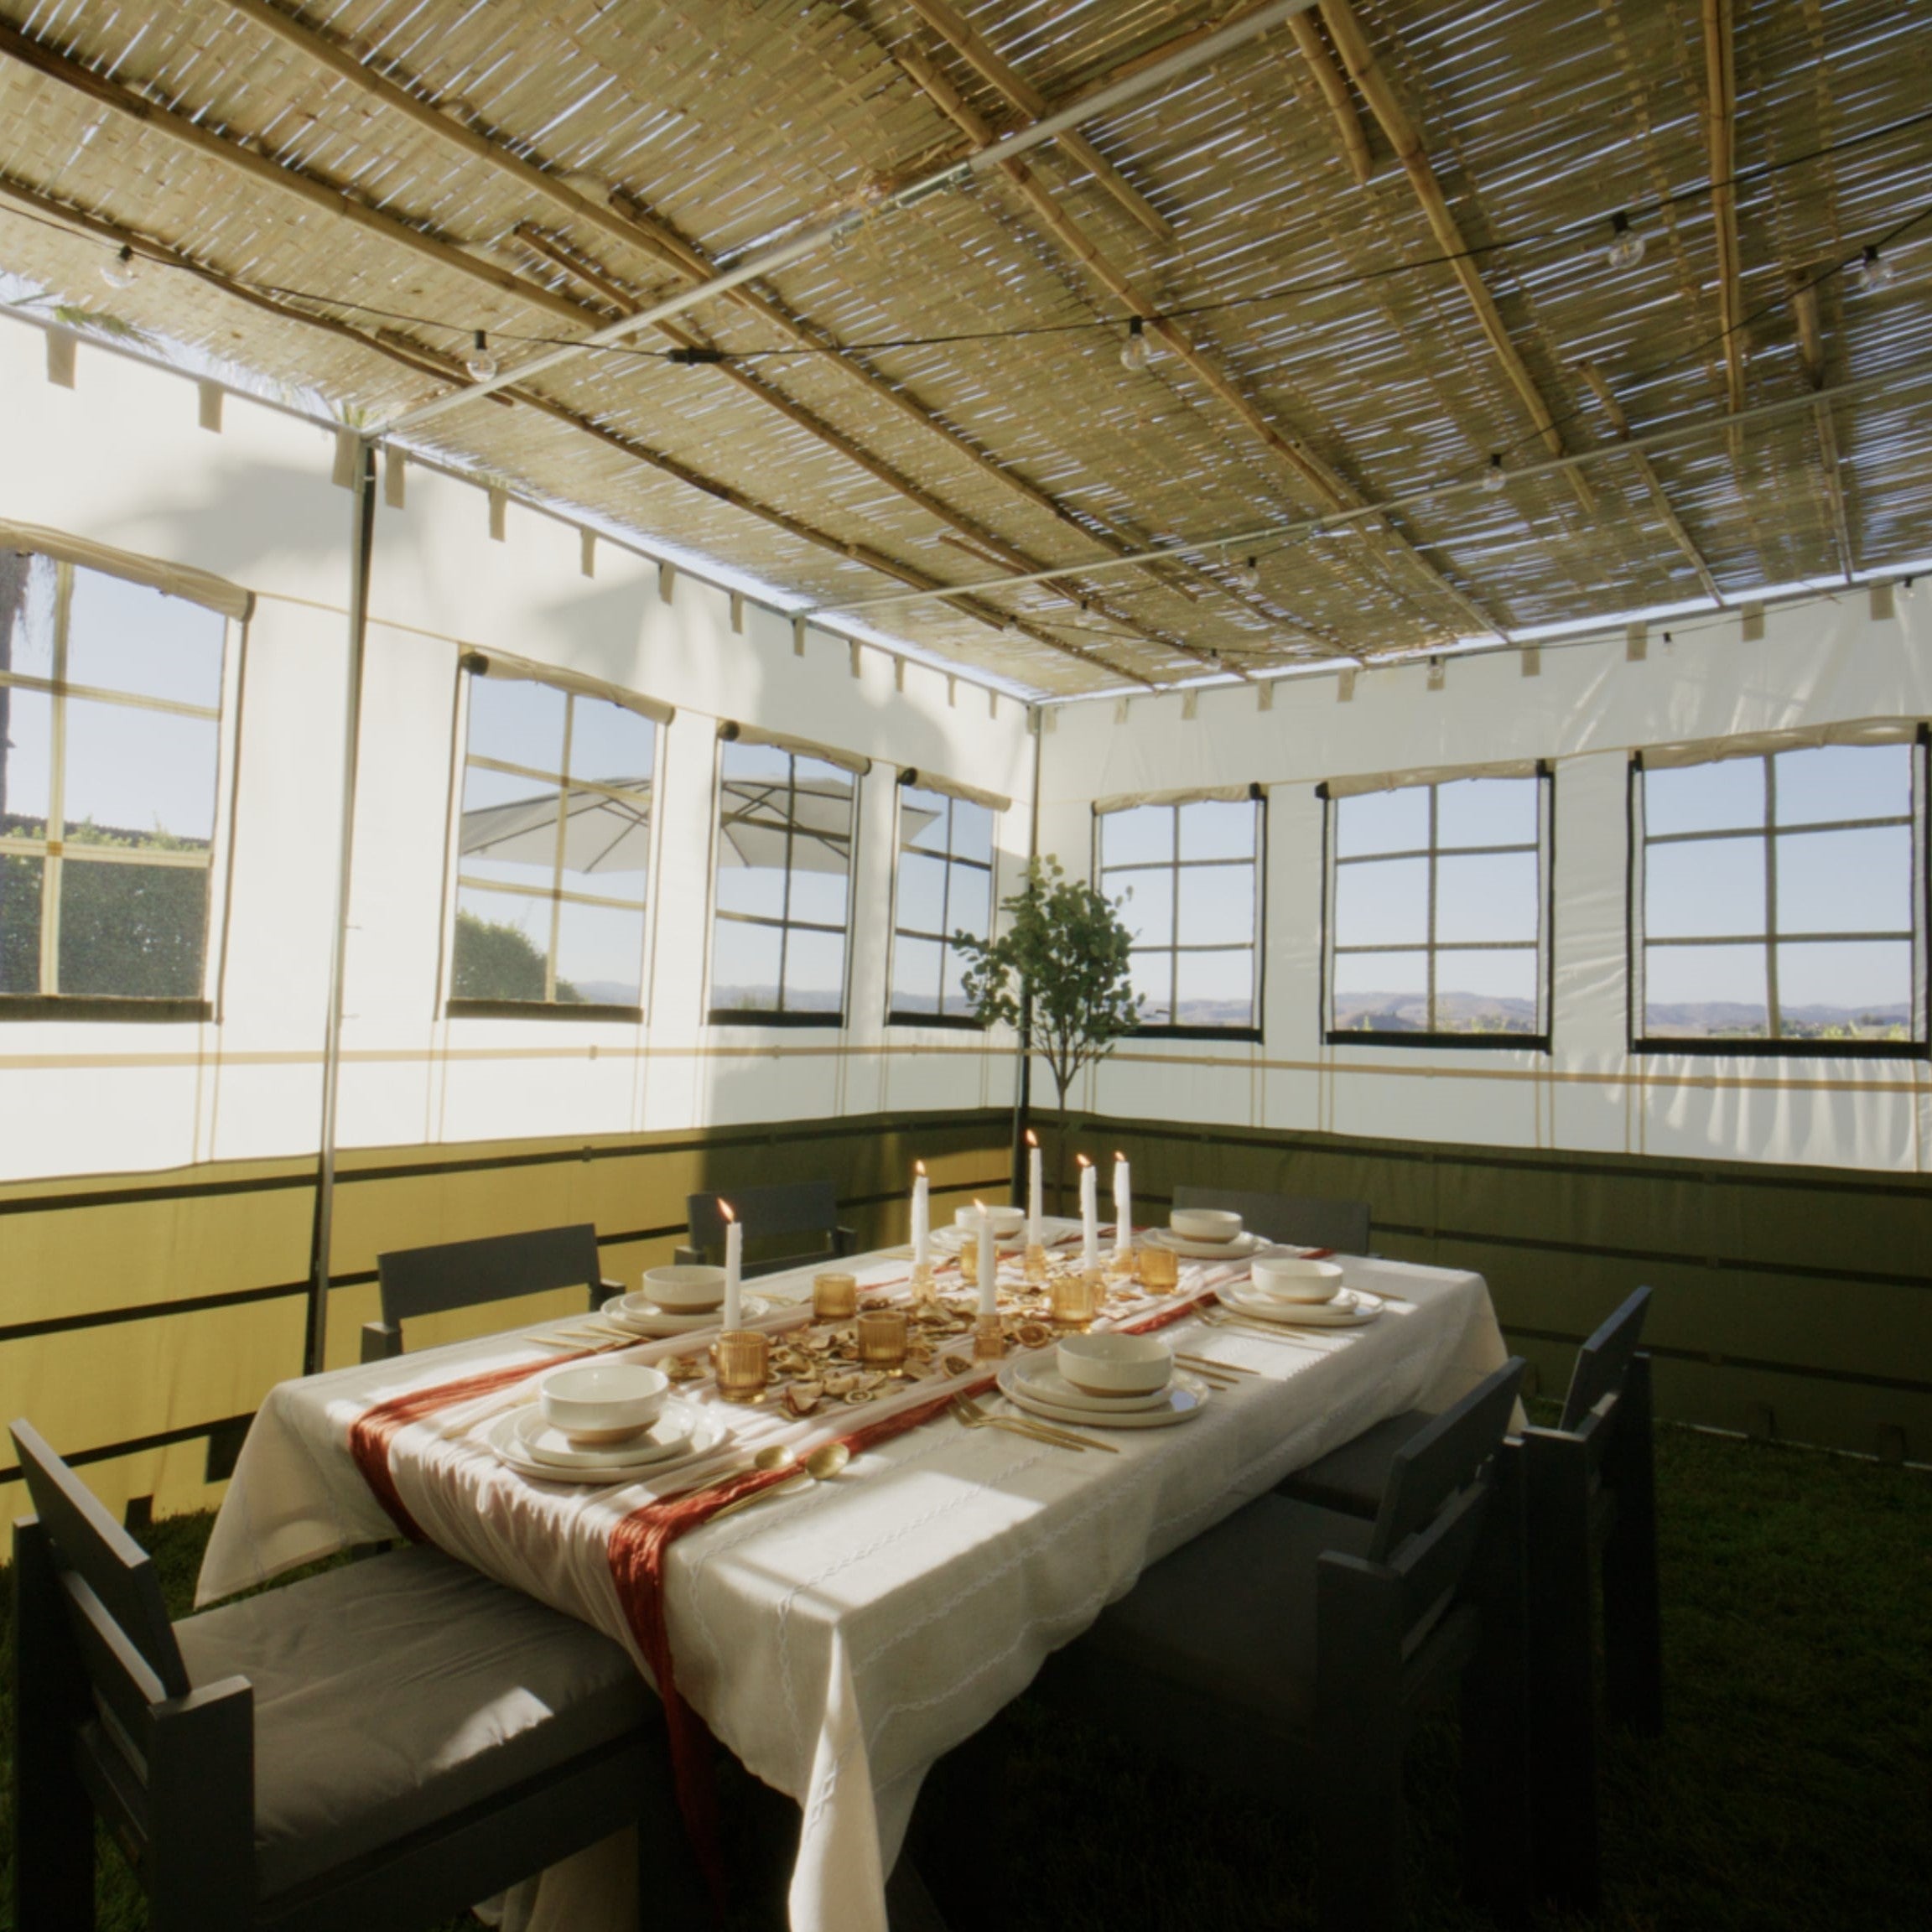
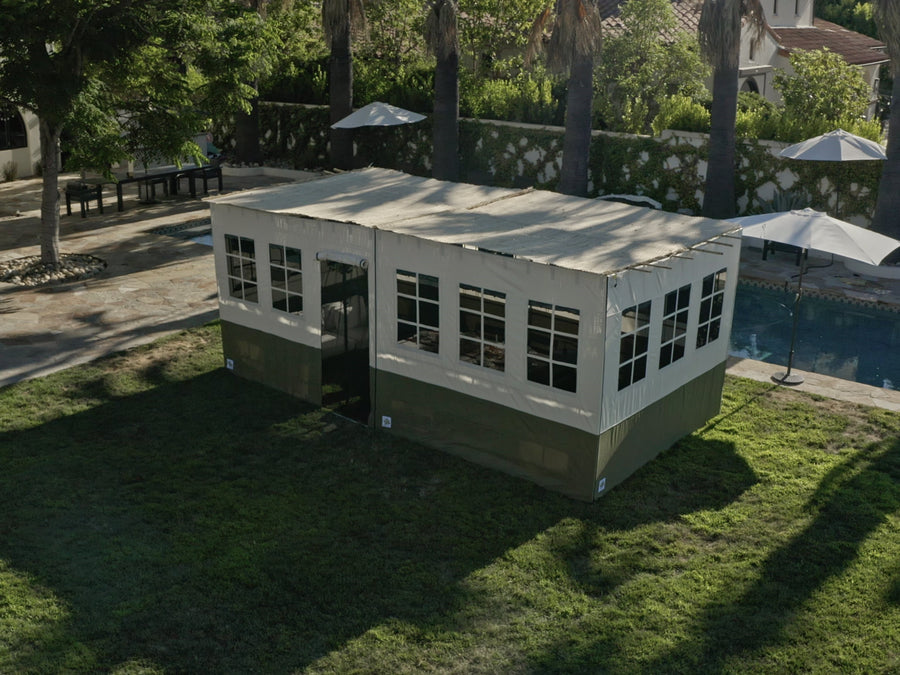
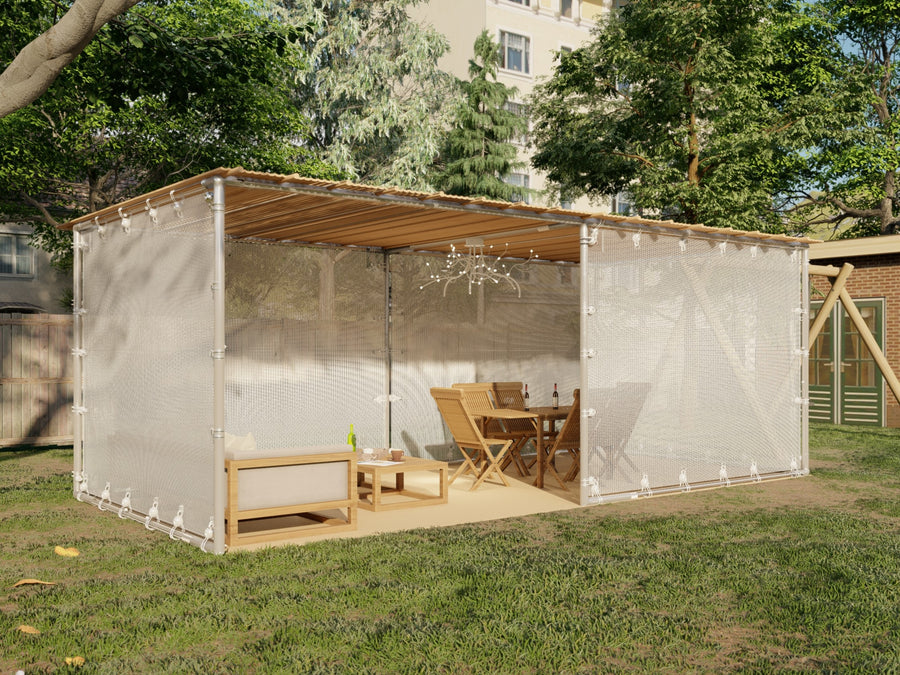
Building a Sukkah, that cozy booth for the Jewish festival of Sukkot, is a time-honored tradition – and it can also be quite the project! If you're dreaming of an all-wood Sukkah that will not only give you major hiddur mitzvah (a beautification of a mitzvah) points but also keep out gusty winds and wandering wildlife, then pull up a chair and let’s plan your masterpiece. Whether you’re building for the first time or upgrading from last year’s slightly slanted tarp model, this guide has got you covered.
A Strong Foundation: Finding Sukkah Plans That Actually Work
Let’s face it – finding solid plans for a wood-walled Sukkah on the internet can feel like a search for the Afikoman on Passover. The options are either too basic or too “one-size-fits-all” (which, spoiler, does not fit all ). But fear not! While there are plenty of fabric options and kits out there, we’ll show you how to adapt and create an all-wood structure that’ll have your neighbors (and maybe even your in-laws) ooh-ing and ahh-ing. Here’s how to do it, step-by-step.
Option 1: The All-Out “Mini Fortress” (aka The Ambitious Builder’s Dream)
If you’ve got a taste for adventure and don’t mind channeling your inner civil engineer, this route is for you. It’s based on a medieval-style booth built by a camping group (yes, camping enthusiasts also know a thing or two about sturdy shelters). Here’s how to make this ambitious vision a reality:
1. Skip the Fancy Roof, Stick to Schach Strips
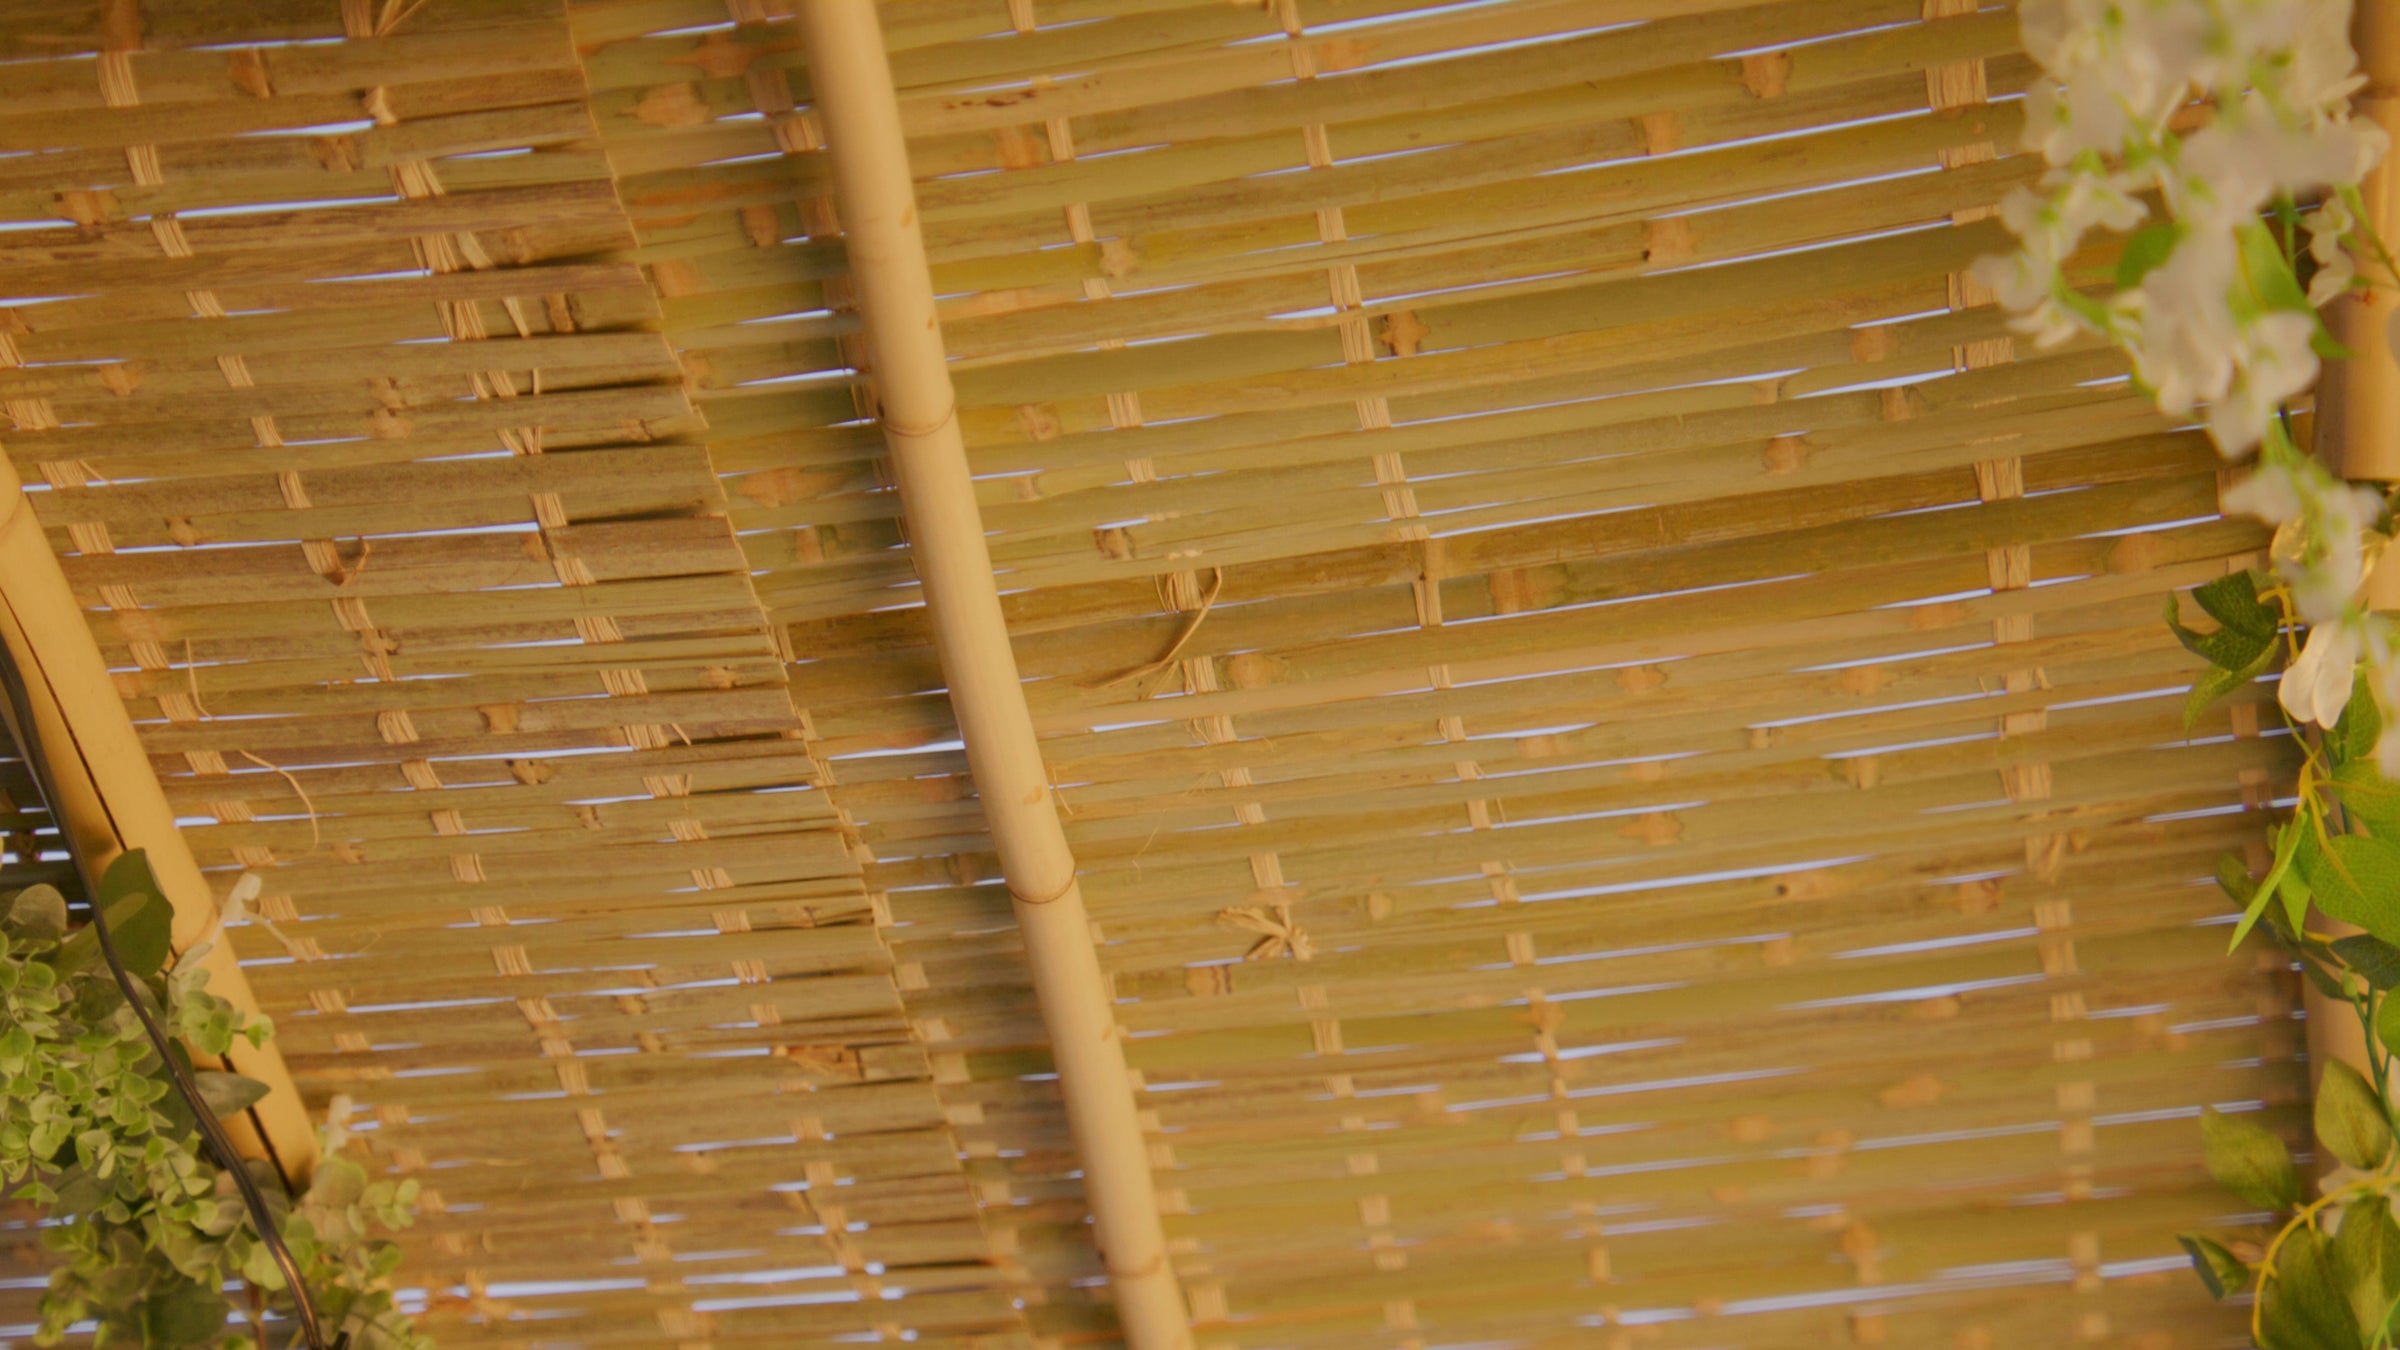
We’re building a Sukkah here, not a cabin. So, no canvas rooftops or wooden rafters. Instead, grab several 1x2s or 2x2s, and lay them across the top to support your Schach – those leafy branches or kosher bamboo Schach mats that will give your Sukkah its classic “open to the heavens” feel.
2. Forget the Windows; Go for Cozy and Sturdy Walls
If you’re in a breezy area, windows might sound great, but let’s keep things practical. Replace any window sections in your plans with solid wood panels . You’ll stay warm, dry, and out of the direct path of those gusty October winds.
3. Make Those Walls Foldable
To keep things manageable, make the walls in smaller, 4-foot-wide segments, so they’re easier to store. And here’s the magic trick: hinge them! Hinging the walls allows them to fold down neatly after the festival, so you’re not left trying to fit an 8-foot wall into your storage space (or debating with your spouse about keeping the Sukkah up all year).
4. The Door
Now, every fortress needs a door! Make a functional one by attaching a door segment to the rest of the Sukkah with some sturdy hinges. You can use a piece of rope as a handle, tying a loop at “door knob” height that you hook to keep it shut. Keep it at normal door height rather than full wall height; this way, you’re not struggling with an 8-foot-tall door that feels like a vault.
5. Prepare for “Schlep-ability”
One of the best parts of this design is that it’s built to be taken apart and stored. Just make sure you’ve got some friends or family lined up to help schlep it out next year!
Option 2: DIY with the Sukkah Store’s Help
Maybe you’re feeling ambitious but still want a little assistance from the pros. The Sukkah Store has a number of sturdy metal frame Sukkah kits meant for fabric walls – but with a few simple upgrades, you can turn it into your dream wooden-walled wonder.
1. Add Some Ply to the Plan
Quarter-inch plywood can be your best friend here. It’s light, sturdy, and far easier on the wallet than thicker pieces. Attach these plywood panels to the Sukkah Store’s metal frame with screws, placing holes every foot or so for easy screwing in and removal. (If you’re in a particularly blustery area, consider 3/8” plywood for extra durability.)
2. The Piano Hinge Trick
Here’s a hack: If the idea of storing massive plywood sheets makes you shudder, try cutting them down the middle lengthwise and connecting each half with a piano hinge. This long, sturdy hinge can be folded in half, making storage easy while keeping the wall sturdy.
3. The Door, Version 2.0
While it’s not exactly Fort Knox, a Sukkah door should at least keep out most critters. To keep it functional yet humble, make a 6-foot-high doorway with a basic plywood panel attached with hinges. For a “handle,” drill a hole, run a rope through, and tie it off. Hook it on a nail or bolt to “lock” the door.
Final Touches: Practical and Stylish
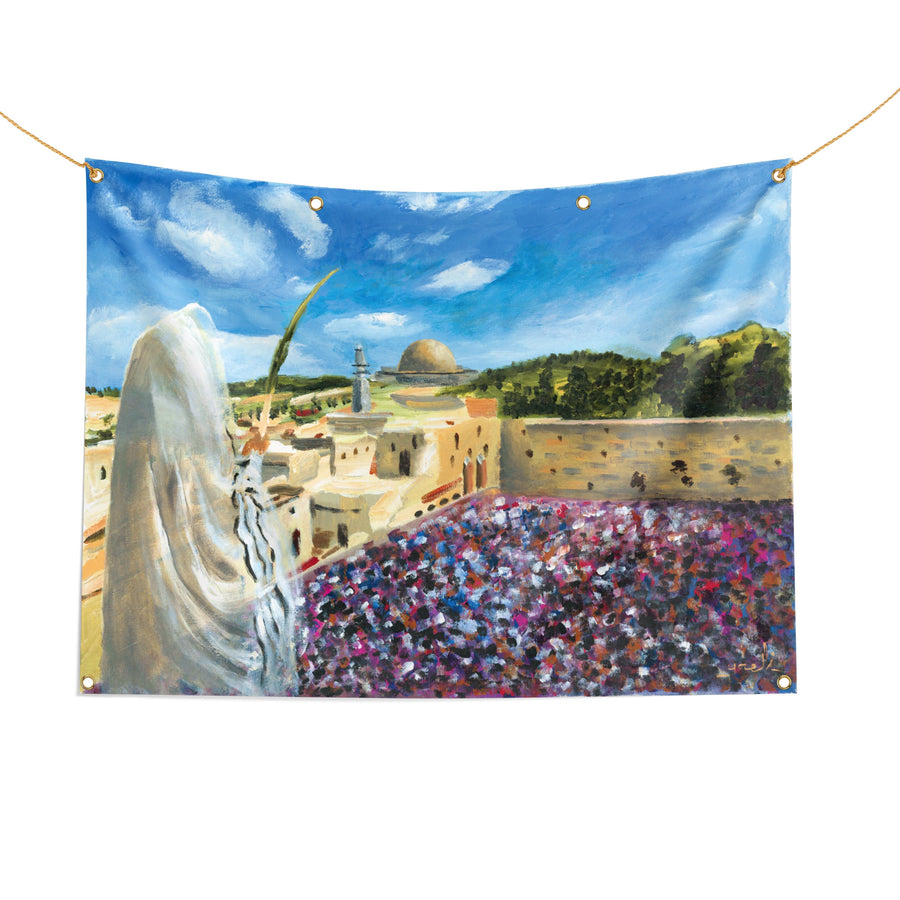
It’s a Sukkah, not a living room, so a little imperfection is part of the charm. However, if you want to add a little extra hiddur mitzvah, consider painting the walls, adding a decorative handle, grabbing some ready-made decorations, or even some etching on the wood panels. Just remember that this is a temporary structure, not a second home, so keep it lighthearted, easy to assemble, and disassemble.
For more on some stylish and simple Sukkah decorations, check out our article on Sukkah Decorating 101.
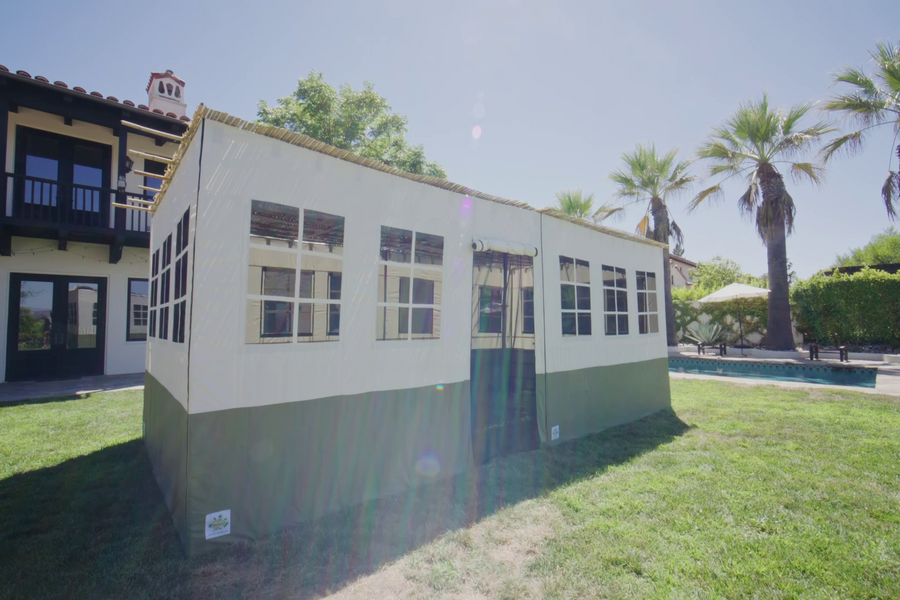
Sukkah Walls and Wind: Blocking the Elements
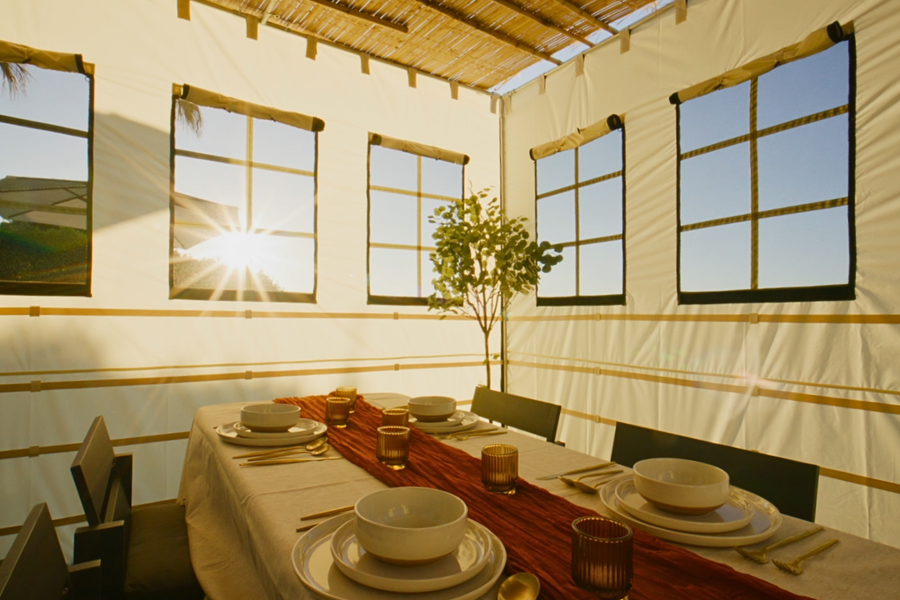
Ah, fall weather. The crisp air, the occasional drizzle, and sometimes, gale-force winds that will have you questioning all of your life choices. Fortunately, these wooden walls will keep you cozy and your Schach in place (although you can read more on how to keep your Schach in place in our article on Tying Down Schach ). While they aren’t airtight, they’re plenty sturdy to give you a comfortable meal space during those breezy Sukkot evenings.
In Conclusion: DIY or Kit?
The beauty of building a Sukkah is that it’s as much a part of the holiday as the sitting inside it. Whether you go full DIY or work with a kit , know that your all-wood Sukkah will be the talk of the neighborhood. And who knows? You might even be fielding calls next year from friends who want tips – or, if they’re lucky, an invitation to join you for a meal under the stars.